
As a skier there’s an increasing anxiety as spring marches on. I can feel the receding snow line creeping up topo lines each week, gaining steam as the temps increase and as more dirt and rock is exposed. Living in the flatlands I don’t get up to the mountains as much as i used to so I rely on apps to show me where there’s still snow, mostly CalTopo’s Sentinal Weekly layer. Coming from using paper maps and a compass the amount of data available through our phones is mind-boggling. Planning bike or ski tours is easier than it used to be it’s still a lot of work but with less first hand knowledge and more remote sensing. How the day goes is more reliant on your attitude and not the desired conditions, low expectations can usually be broken.
Winter powder days are relatively easy to plan for – you can see the forecast that snow is coming and you know more or less what to expect. There’s a bit of anxiety about getting to the new snow as early as possible, since at least in the Sierra, it can warm up pretty fast and the best conditions don’t last long. But you can usually get soft snow and fun turns within a couple days of a storm. Spring corn, the second best thing to ski in my opinion, is more fickle to predict and plan for, at least for me. It’s a good idea to get out there early to the top of the mountain before it gets too warm and the snow turns to mashed potatoes, you can always wait for it to warm up and adjust the slope and aspect of your line. Just like with powder, and I imagine waves for a surfer, there’s a timeline that needs to be followed that has us watching the forecast. We look for clear nights with near freezing temps followed by sunny days with no clouds and little wind. If the recipe isn’t followed you’re scraping and chattering half-controlled turns and hoping it gets softer as you go down. Or maybe there wasn’t an overnight freeze because the forecast was wrong, or there was some sneaky cloud cover and the sun bakes the half-frozen surface so fast that by 8am you’re already sinking and slogging through mashed potatoes trying not to go over the bars. These are the things that happen more often than not when you only have certain days you can ski (i.e., weekends). You take what you can get with the scheduled days off you have. So when conditions coalesce, whether it’s a powder day or a well-timed spring corn mission…for those are the outliers. And those outliers are what make me come back each year to try again, and again.

Last year my final ski day was May 30th and I basically took my skis on a 7 hour walk and had a total of maybe 10 good turns. Those types of day make the decision to “call it” easier. Don’t get me wrong, those days are very fun in their own way, but with how my knee felt the following week I should have let the skis and boots at home and just gone for a hike. A couple decades ago I tried to ski every month of the year but the July and August days didn’t inspire me to continue. I’d rather get out on the bike. Which brings me to the thing that inspired me to start writing this blog…the spring biathlon.
Normally, when I combine my bike with skis it’s a slog and on the way home I call it a season. But I keep trying and hoping the stars will align next time. The bike allows farther travel to those last islands of snow in spring. Sometimes roads are still closed to cars but the road is clear enough to take your bike on the long flat approach to the mountain. It becomes a fun challenge to find those more remote spots that may lend themselves to an approach by bike. I’ve used the fatbike most of the time to get farther into those spots when the route is still snowpacked. Like with sliding down a mountain on skis, on the bike you can coast back to the car instead of walking, and when the approach route is low angle the bike can be a big time saver. And since my knee is bone on bone arthritis now walking downhill with a heavy pack is painful. But riding a bike downhill is not painful and the utilitarian aspect of these adventures makes it really fun.
As luck would have it, this weird snow year of ’25-26 provided an ideal situation for one such tour plan. The temperatures were warmer all winter so although we were at almost normal snow/water equivalent (SWE), we were well below average snowpack. What that means is there was a high snowline – above a certain elevation it snowed a lot but below that it fell as wet snow or rain and melted fast. This meant I could look for those islands of snow on Sentinal weekly and figure out what trails let to them – singletrack trails – and use the mountain bike to get up there.
A plan was hatched. I found what I thought was a perfect tour with some great conditions that provided a 5 mile singletrack approach to a 1200ft vertical ski run (a long run in my book). It’s not a peak I’d skied before but was familiar with, having ridden by many times on the Tahoe Rim Trail. It’s not extreme terrain, more of an open bowl where windblown snow collects and because of the northerly aspect and high elevation the snow sticks around into late spring.


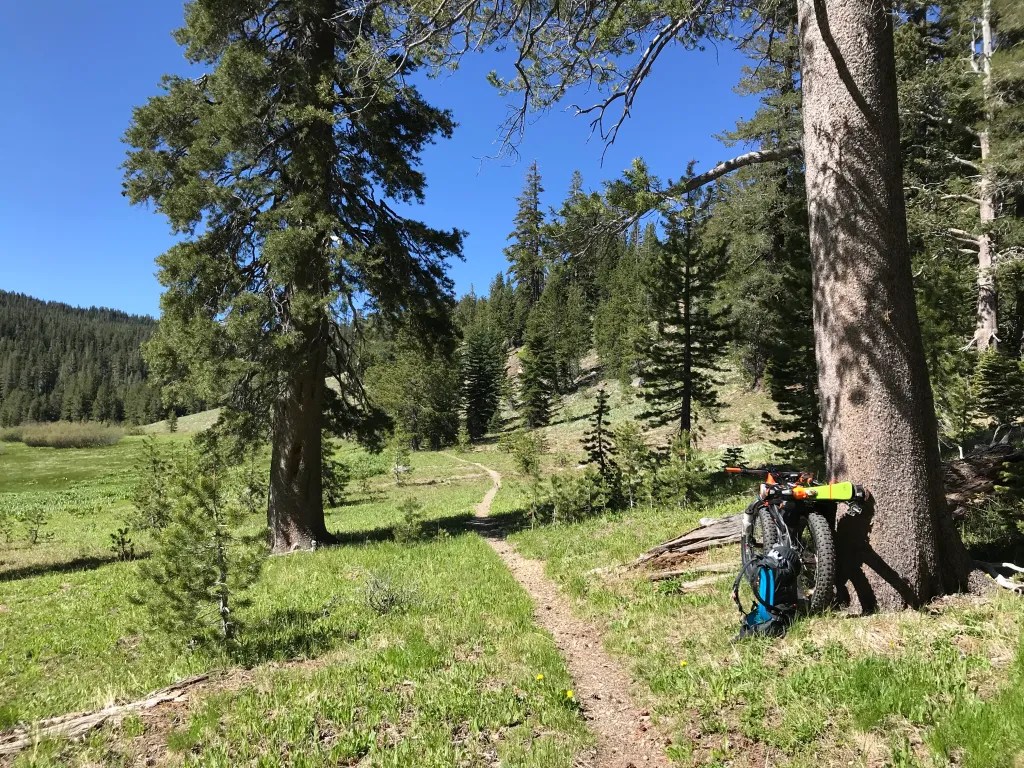
The ride up and back was dreamy, the Tahoe Rim Trail is simply awesome and there were only a few short snow patches to hike over.
When i lived in Boulder, CO it was an annual rite of Spring to take the skis by bike up Brainard Lake Road when the gate was still closed but the road was mostly clear. You could quickly roll up the 3 miles without any cars. Getting up to the top of the Divide from stashing the bikes is another 4 miles and 3k feet of elevation gain so getting to the walking part early is extremely important to make sure conditions are safe and not too soft. Riding with skis like this is totally fine for a short paved road approach.


But in winter with more gear and riding on snow, riding with your skis and boots on your heavy pack becomes untenable. My first attempt at carrying skis on my bike was to make a custom rack that would carry everything out of the way. For some reason I thought that having the skis vertical with the boots mounted to the bindings would work best. I wasn’t planning on riding trail, just snowpacked snowmobile trails. So, on my second fatbike I made my first rear rack that had loops for the skis to slide into. I used some straps to hold the bottom of the skis against the rack and then strap my backpack between the skis.
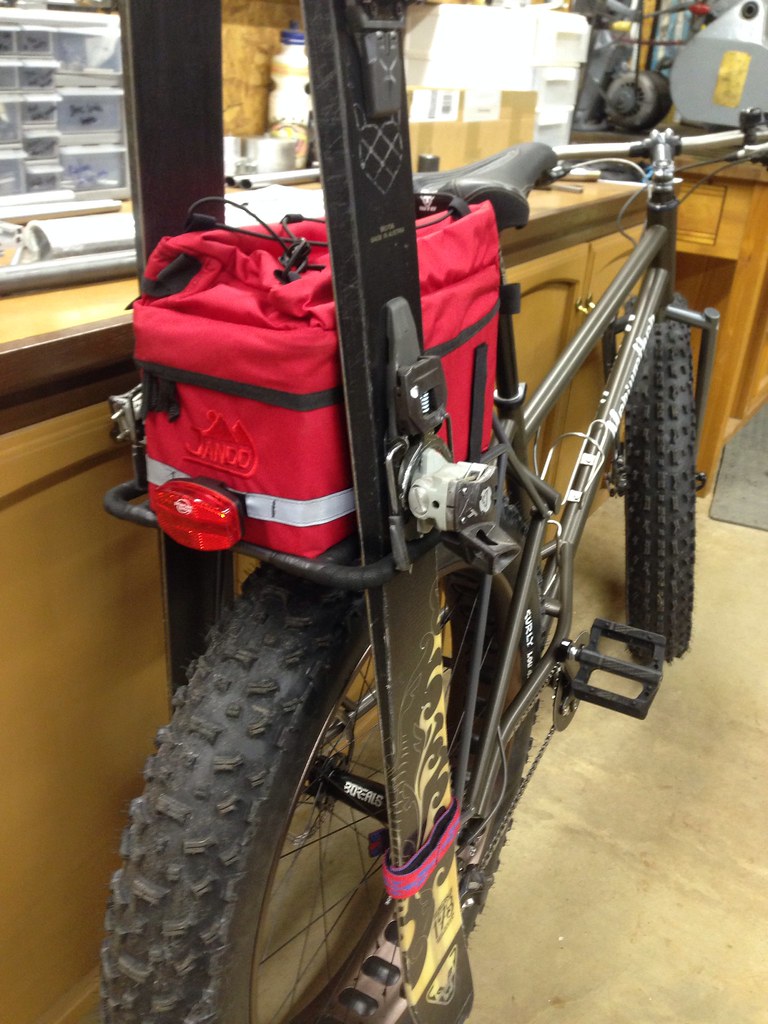

In 2012 we moved to Foresthill, CA and I had a new area around Tahoe to explore. There are several ‘Sno-parks” that are sometimes groomed, or at least frequented by snowmobiles, so riding the fatbike 6 miles into an area seemed like a fun way to explore a new spot and not see many people during the week. The design worked but it was best for a smooth flat road approach as it didn’t hold the skis very securely. To fit narrow and wide skis the rack’s slots had to be pretty big. As a result, the skis would bounce around even with Voile straps holding them down. But the bigger issue was the tall and wide stance of the setup – the ski tips would catch low branches making me stop suddenly or lose my balance, and swinging a leg over the bike to dismount became a new challenge. Lastly, because of the short chainstays on the bike the front wheel wanted to wheelie on steeper sections so the bike didn’t feel very planted. Generally, i gave it a failing grade.

The most common way you see people ride with skis and boots is to click the boots into the bindings and strap the skis along the bike’s top tube and under the saddle. Defiant bags (RIP) used to make the Gunslinger pack (seen in the pics below) that protected the bike from the ski edges and also made life easier because you could leave the bag on the bike when taking the skis off. It’s a relic piece of gear that i’ll never part with since nobody (that I’m aware of) makes it anymore. I didn’t use the loops for the saddle rails on the Defiant bag once I made a rack for my 2XL fatbike since the skis could lay on the rack’s platform and get strapped down, preventing any rattle and allowing partial use of the dropper post (extremely useful for a fatbike in winter when you’re dismounting a lot!).

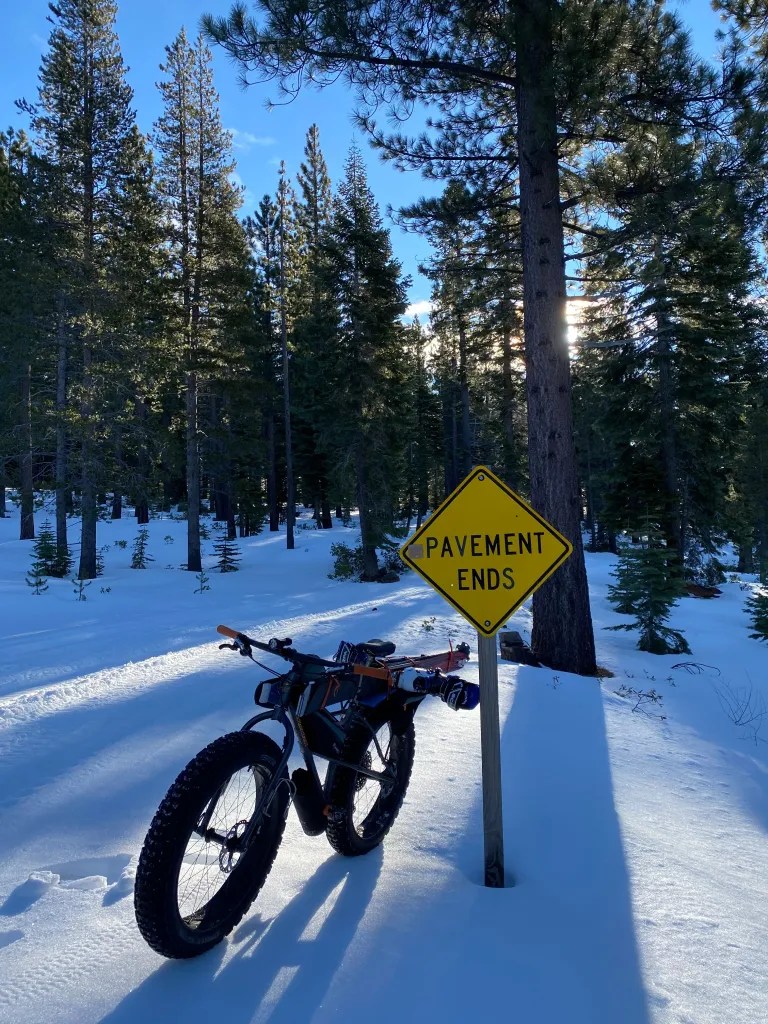
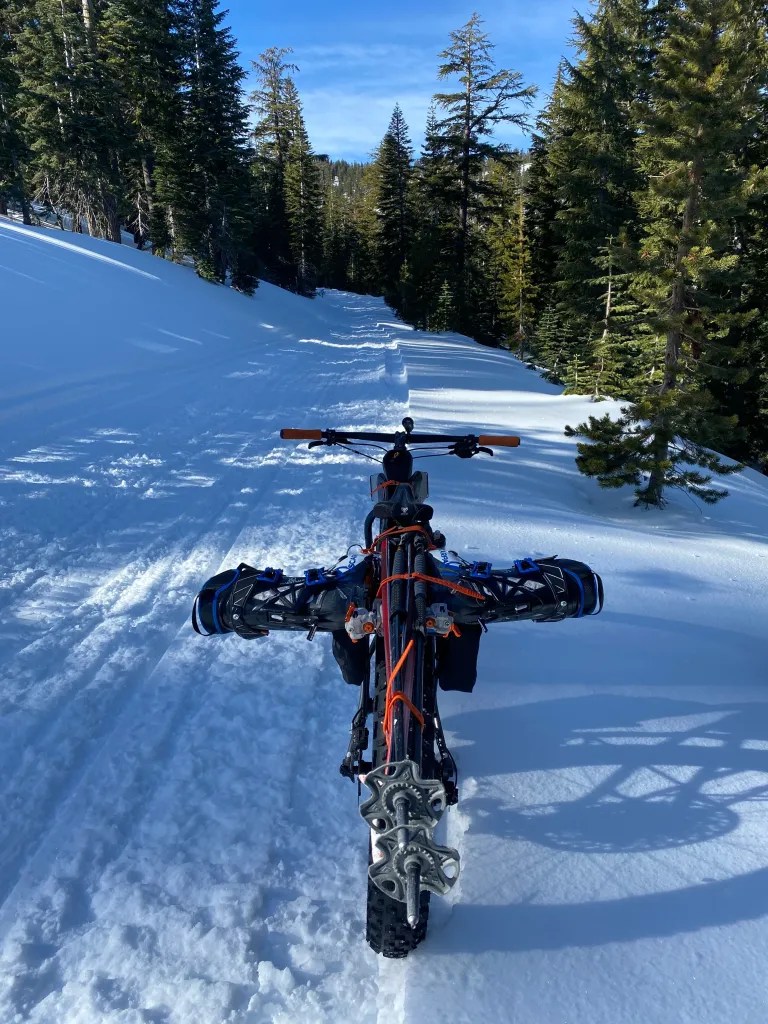


Riding with this setup works great for the most part, as long as it’s a non-technical road or trail. Same goes for wearing your pack with A-frame skis. Wearing your boots to pedal is just awkward and not fun. But when you’re riding with your boots attached to your skis on singletrack, or on a fatbike in snow, you are likely going to be dismounting a lot and doing some hike-a-bike. You will recognize very quickly why having your boots somewhere else is desirable. Furthermore, the narrower stance the better – you want those boots out of the way of your foot as you’re getting on and off the bike. Ask me how I know…catching your foot as you are trying to quickly get on or off the bike leads to a fall and can do some damage to you and your bike!
A few years ago I had the idea of making a rack that uses the often vacant triple-bosses on the fork to carry my ski boots. Having the boots on the fork angled and out of the way would mean less things for them to snag. They still could brush up against trailside features but at least you can SEE what’s about to snag the and do some defensive driving. An idea fermented, a plan was hatched.
I have not fatbiked much at all these past 5 years so I decided to give the 2XL a new lease on life and send it up to Nicholas in Anchorage for visiting friends to use if he wasn’t using it. Not having a fatbike with a rear rack support, I only had one current setup that would work – my Ti 32” with a c.2015 rigid fork to test out my latest prototype boot carry rack. My Ponderosa wouldn’t suffice for the route I had in mind.


Version 1 (above) is all stainless steel with some tech toe pins that I got from Skimo.com’s warranty department. The stainless pieces were bent and welded together and worked ok but the toe piece didn’t flex as easily as I was hoping. I ended up leaving the pins a bit wide so the boot’s toe would snap in easier but that then relies on the Voile strap to keep the boot secured to the rack and fork leg, not a refined design.
I created Version 2 to try and remedy that issue by using threaded toe pins, allowing me to adjust tension manually. It is also machined from thin aluminum so it’s a lot less weight but a lot more flexible and less durable. Because it’s bolted together instead of welded, the short bolts holding on the toe-piece crossbar came loose on my first tour, even with loctite. The forces from the trail and a rigid fork were just too much for this design. It didn’t help that my boots were facing forward and a couple times caught a rock or branch as I rode by, yanking the boot and bending the rack a bit. But the final straw, for the left side at least, was when I got to the top of the pass looked up and got mesmerized by the lake view as my front wheel drifted into some loose soil. I had a slow motion tip over onto my left side and the boot got smushed against my front wheel, bending the rack and partially stripping the threads. But it didn’t break and I was able to bend it back and it got me back to the trailhead. I’ll likely use v1 for the next tour, or update v2 with thicker aluminum bar and a longer screw for the triple boss plate that bolts to the fork. Having the fork bosses facing forward is not good for this rack either, forks with bosses facing back are the preferred option.


Discover more from Meriwether Cycles
Subscribe to get the latest posts sent to your email.
Whit! Was hoping for this write up. This is awesome and I aspire to follow in your footsteps!
Thank you! Well let me know if you want company 🙂 I’m not sure I would’ve taken the time to write this all up without your suggestion, but glad I did since it was fun putting it together.